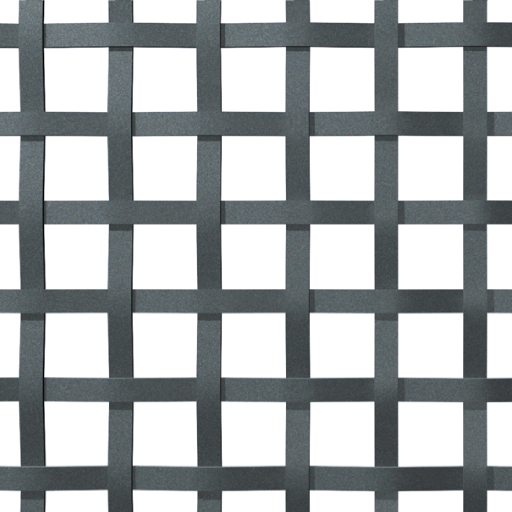
Distance between axes: 94 x 94 mm
Flat bar: 25 x 6 mm
Free opening: 69 x 69 mm
Transparency: 54%
Standard sizes:

La: 1,97 x 1,5 m / 71 kg
Lv: 1,5 x 1,97 m / 71 kg
X: 1,97 x 0,75 m / 35 kg
V: 1,5 x 1,5 m / 54 kg
C: 1,5 x 0,75 m / 26 kg
K: Variable
For more information or any questions, contact our Customer Care centre: 902 114 142 / 980 509 219
-Electrolitic zinc covering following the ISO STandard ISO 9001:2000 and register number ESP 2274.
-Imprimación de poliuretano acrílico dos componentes:
· Repintable con cualquier tipo de sistema (sintéticos, poliuretanos, epoxies, etc.)
· Aspecto satinado
· Color RAL 8019
The finishing of the Trenza Metal grille is simple.
It is possible to apply any kind of techniques of the metalwork: elctrode welding, wire welding, cut with shear, angle grinder, circular saw, bending, etc.
As it is solid material, and its thickness is higher than 4mm, it is possible to weld to every kind of solid frames or structural pipes from 1,5mm thick obtaining an excellent result.
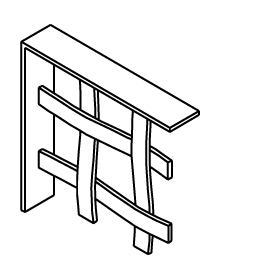
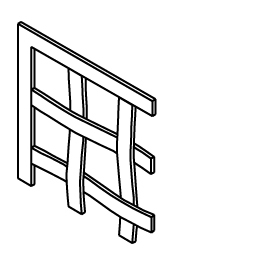
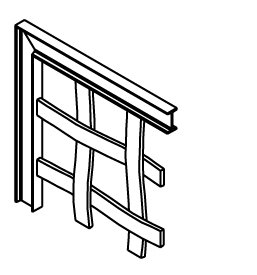
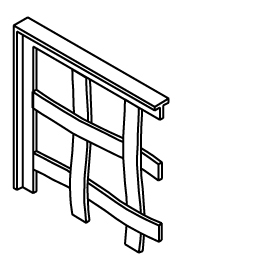
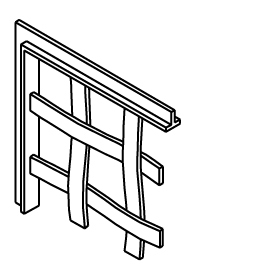
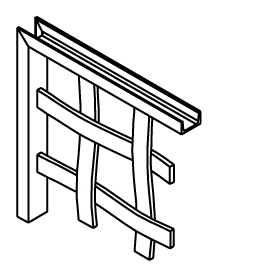
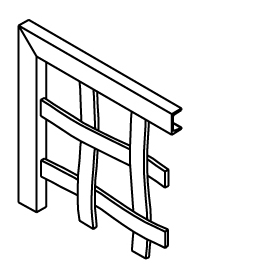
Trenza Metal adapts to every kind of frame. Here you can see some possibilities.
Simple Frames
| Flat bar On its side |
Flat | H section | |
 |
 |
 |
|
| Tee Section Outwards |
Inwards | U section Outwards |
Lateral |
 |
 |
 |
 |
| Solid square section | Angle section Outwards |
Inwards | |
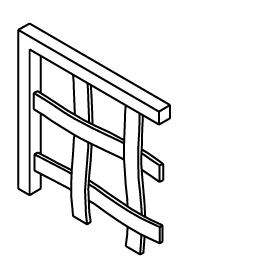 |
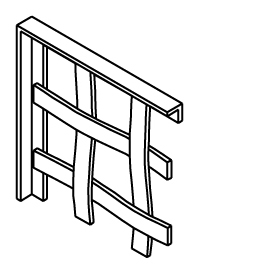 |
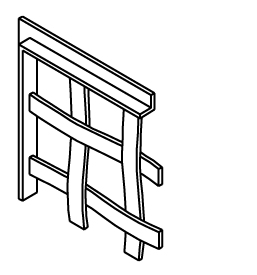 |
|
| Hollow square section | |||
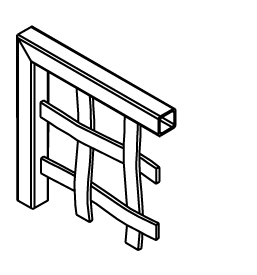 |
|||
Composed pointed fence
| Angle section and frame reinforcement | Hidden frame (reinforcement) and loose ends up and down |
|
| Of flat bar | Of angle section | |
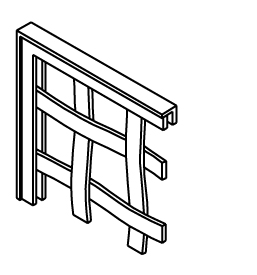 |
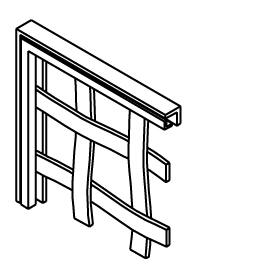 |
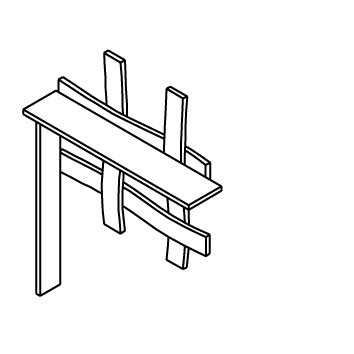 |
| With double flat bar | Hidden frame (reinforcement) and loose ends on the four edges |
|
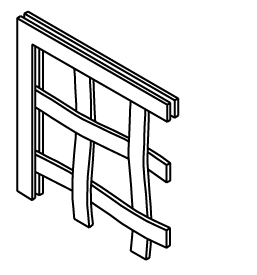 |
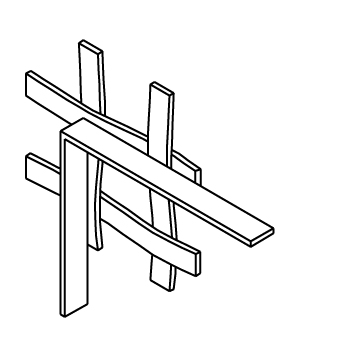 |
|
| Pipe finish | Lateral Hidden frame (reinforcement) with angles section. Loose ends up and down |
|
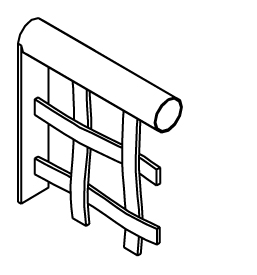 |
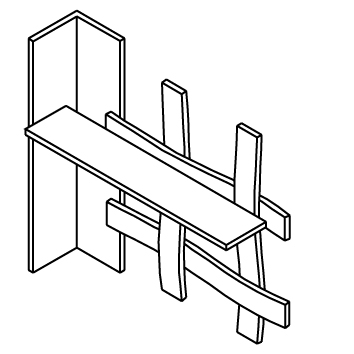 |
|
| Angle section finish (weatherboard) | ||
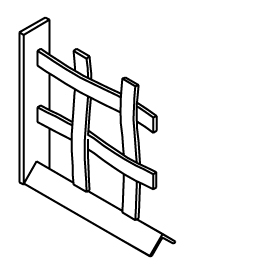 |
||
| With drill hole in the frame to screw directly 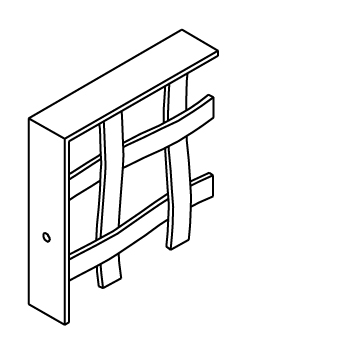 |
With drill hole in the angle section to screw 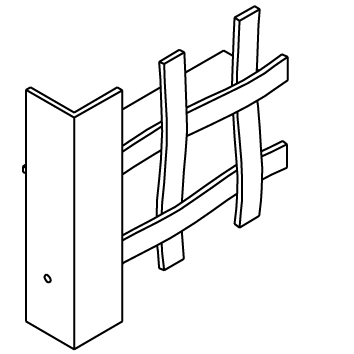 |
With T-bolt to fix with resin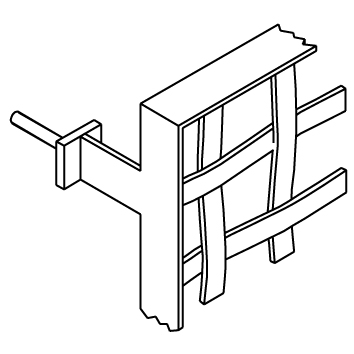 |
|
With bushing and drill hole |
Bent frame with bushing and drill hole in the axis of the frame to screw 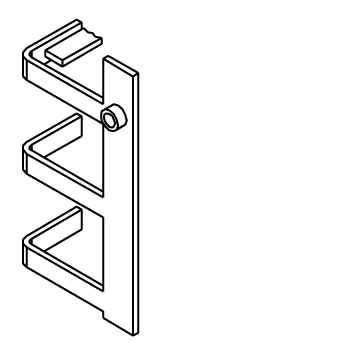 |
With anchorage plate to screw |
|
With flap, bushing and drill |
With flap and drill hole to |
With gusset plate and bushing to screw onto the floor 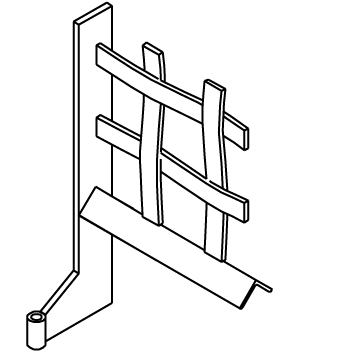 |
Tags: rejeria